Attention world - I am getting married! As of September 22, I am engaged to the man of my dreams. He is my other half, and has been my best friend for 2 years. I could not be happier.
We have officially set a date... so let the wedding planning commence!
We have officially set a date... so let the wedding planning commence!


The first thing that I wanted to get started on other than the place and location was my bridal party. I have known for a couple months that if I were to get engaged soon (I knew it was coming) who I would want to stand by my side, and so did my fiance. I realize that my wedding is 11 months away, and that some people tell you to wait until the 8 or 6 month mark to ask your bridal party. But, if you know that you aren't going to change your mind about the girls you ask, then why not give them as much time to prepare? Plus, bridesmaids will be really helpful in helping you craft and will give you honest opinions on the things you ask them.
I knew that I wanted to make bridesmaid boxes after seeing lots of different variations on pinterest. I took little pieces of each box idea I saw to create these personalized gems for my ladies. Here's how i did it!
I bought these unfinished hinged boxes at Michael's for around 7 dollars a piece. If you don't have Michael's in your area, most craft/hobby stores have these in lots of shapes and sizes. I chose a medium-sized box based on all of the items I wanted to fit inside.

The next step is completely optional. You can leave the box how it is, paint it a fun color, or stain it. I chose to stain the boxes. I used this squeezable, easy to use stain by Rust-Oleum in the color "golden oak", which left my boxes with a pretty light-brown color.

This step is also optional, but I painted the inside of my boxes with the shade of my main wedding color. Our wedding colors are charcoal and "grayed jade". In order to get the shade I wanted, I mixed these two Martha Stuart paints together. It only takes a little bit of the grey "arrowhead" color mixed with the green "pea shoot" to acheive this subdued minty gray that is on the inside of the lid.


Next, I added a silk flower I found on sale at Michael's and some paper shredding from the party section to give it a little cushion for the goodies.

Each box was custom to the taste of each bridesmaid. The box pictured here was for my maid of honor, who loves great nail polish, so I included OPI shades in the wedding colors
("thanks a wind-million" and "nein nein nein, ok fine!"). I also included her favorite EOS lip balm, becuase I know she loves them!

Next, I took to my secret pinterest board for all things wedding, and printed off pictures that I am using for inspiration on bridesmaid dresses. I wanted to show them the ideas that I've been mulling over, and also show them the styles and colors they should be looking for. I included paint swatches (which you can get for free at lowes/home depot) for them to take with them when they go dress shopping. I chose for my bridesmaids to pick their own dresses, so these pictures and swatches were to give them ideas.

Next, I added personalized cards that gave all the information on when and where the wedding will take place, what their role would be, I explained how they would choose their own dress, and I also included a card of who will be in the bridal party along with funny inside jokes about each person. All of my bridesmaids are my sorority sisters, so we have a lot of funny stories!

Next, I included a cute card from Rifle Paper Company and wrote them a note expressing how much I appreciate them, how much I love them, and how excited I am for them to be a part of our special day.
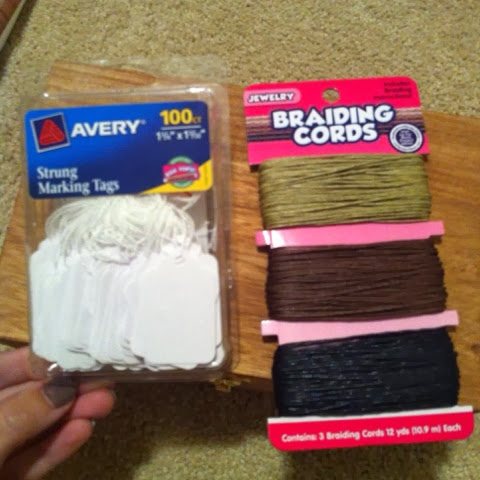
I then wrapped the boxes with twine that I bought at Walmart in the craft section, and little name tags from the office supply section. How cute!

All of my bridal party loved their boxes and I am so excited they all said yes!! On to more planning!
-Amanda
No comments:
Post a Comment